
10 Cutting Board Crafts Wall Art Home Decor
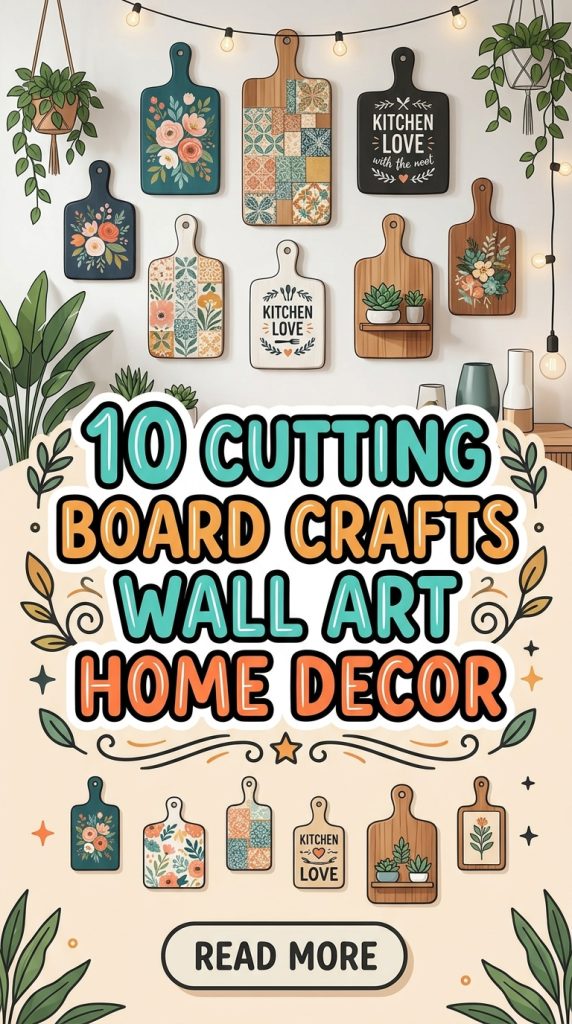
Cutting board crafts have become one of the most versatile trends in Pinterest ideas and DIY home decor. A simple wooden cutting board can be transformed into decorative wall art, functional organization pieces, seasonal displays, and handmade gifts. These projects combine rustic charm with modern design, making them suitable for kitchens, dining rooms, entryways, and even living spaces. The appeal lies in the balance between affordability and creativity, allowing beginners and experienced crafters to create personalized decoration without specialized equipment.
In this article, you will learn how to turn ordinary cutting boards into stylish wall decor using paint, stain, vinyl lettering, greenery, hooks, and other simple materials. Each idea includes practical guidance, step-by-step creation methods, and styling inspiration. The projects are designed to be beginner friendly while still offering room for customization and advanced techniques. Whether your goal is to add warmth to a kitchen, create farmhouse-style accents, organize everyday items, or craft seasonal displays, these cutting board projects provide a wide range of creative ideas that fit many interior styles and budgets.
Why This Idea Is Trending or Useful
Cutting board wall art has gained popularity because it combines function, aesthetics, and accessibility. Many people already have old or unused cutting boards at home, making these projects an easy and budget-friendly way to create handmade decoration. The natural wood texture works well with modern design trends such as farmhouse, minimalist style, Scandinavian interiors, and rustic decor. This versatility makes cutting board crafts a favorite source of Pinterest inspiration for homeowners, renters, and DIY enthusiasts.
Another reason these projects are trending is their adaptability. A cutting board can become a seasonal sign, a family name display, a herb garden, a photo holder, or an organizational station with only a few modifications. The materials are easy to find, and most projects require basic tools such as sandpaper, paint, adhesive, and hanging hardware. Beginners can complete many designs in a single afternoon, while experienced crafters can experiment with layering, stenciling, distressing, and mixed-media techniques. Because the projects are highly customizable, they also make thoughtful handmade gifts and personalized home decor pieces that reflect individual style and creativity.
Materials and Preparation
Before starting any cutting board craft, gather the necessary materials and prepare the wood properly. Common materials include wooden cutting boards, acrylic paint, wood stain, sandpaper, paint brushes, stencils, vinyl lettering, adhesive, screws, hooks, artificial greenery, and hanging hardware. Optional decorative elements include ribbon, twine, beads, seasonal embellishments, and small wooden shapes. Choose cutting boards that are solid, clean, and free from deep cracks or damage.
Preparation is an important step in achieving professional-looking results. Wash the cutting board thoroughly and allow it to dry completely. Lightly sand the surface to remove rough areas and improve paint adhesion. Decide whether you want a natural wood finish, a stained appearance, or a painted background before beginning the design. Plan the layout of text, decorations, or functional additions such as hooks or planters. If you are creating multiple pieces, prepare all boards at the same time to save effort. Taking time to measure, sketch, and test placement before attaching permanent elements helps prevent mistakes and creates a cleaner final result.
Idea 1: Farmhouse Welcome Board
How to Create
A farmhouse welcome board is one of the easiest cutting board crafts for beginners. The design typically features a stained or painted cutting board with a welcoming phrase, decorative greenery, and rustic accents. This project works especially well near entryways, kitchens, or dining spaces where a warm greeting adds character. The natural shape of the cutting board creates a charming vertical display that resembles a vintage sign.
To make this project, sand the cutting board and apply a medium wood stain or matte paint. After the finish dries, add a welcome message using stencils, vinyl lettering, or hand-painted text. Attach a small bundle of artificial greenery or eucalyptus near the handle using twine or hot glue. For a farmhouse look, lightly distress the edges with sandpaper. Install a picture hanger or twine loop on the back for wall mounting. The result is a simple, handmade decoration that fits many home decor styles and requires only basic materials.

Idea 2: Kitchen Utensil Holder Wall Art
How to Create
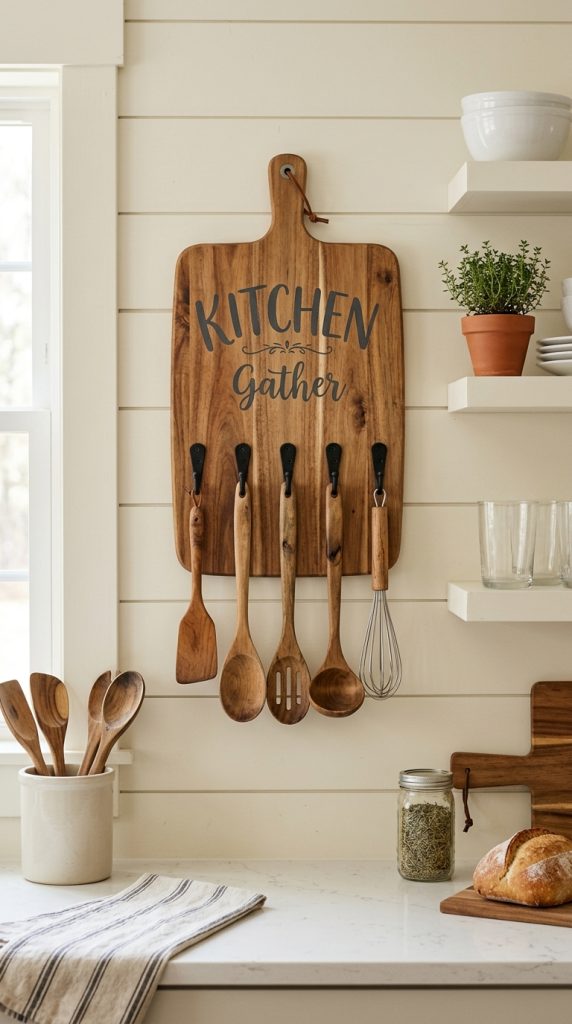
This project combines decoration with organization. A cutting board becomes a wall-mounted utensil holder that keeps frequently used kitchen tools accessible while adding visual interest. The board can be customized with painted labels, hooks, or small baskets depending on the available space and storage needs.
Begin by sanding and finishing the cutting board. Mark the placement of hooks along the lower half of the board, keeping them evenly spaced. Attach sturdy screw-in hooks or cup hooks that can support utensils, measuring spoons, or small towels. Add a painted or stenciled kitchen-themed phrase at the top for extra personality. Mount the board securely to the wall using appropriate hardware. This easy project is especially useful in small kitchens where vertical organization helps reduce counter clutter while maintaining an attractive, cohesive aesthetic.
Idea 3: Seasonal Wreath Display Board
How to Create
A seasonal wreath display turns a cutting board into a rotating decoration that can be updated throughout the year. Instead of creating separate signs for every season, the same board serves as a backdrop for interchangeable wreaths, bows, and decorative elements. This approach saves storage space and provides ongoing creative inspiration.
Paint or stain the cutting board in a neutral color that works year-round. Attach a small hook or ribbon loop near the center or upper portion of the board. Create miniature wreaths using grapevine forms, greenery, flowers, or seasonal accents such as pumpkins, pinecones, or berries. Hang the wreath on the hook and swap it as seasons change. Add a simple word such as “Home” or “Gather” to the board if desired. This versatile design offers endless customization and works well in entryways, kitchens, and dining areas.

Idea 4: Recipe Display Cutting Board
How to Create
A recipe display board is both decorative and practical. It provides a stylish way to hold recipe cards, printed instructions, or tablets while cooking. The cutting board shape naturally suits kitchen decor, making it a functional accent that blends into the space.
Start by sanding and finishing the board. Attach a metal clip, clipboard mechanism, or decorative clamp near the top center. If desired, paint the lower portion with chalkboard paint so you can write notes or ingredient reminders. Add a small shelf or ledge at the bottom to support recipe cards or a tablet. Mount the board on the wall near the cooking area or place it on a countertop stand. This project is beginner friendly and helps keep recipes visible while preparing meals.

Idea 5: Family Name Cutting Board Sign
How to Create
A personalized family name sign transforms a cutting board into meaningful wall art. This project is popular for housewarming gifts, wedding gifts, and kitchen decor because it combines natural wood with custom lettering. The board can display a family name, establishment year, or a favorite quote.
Sand the board and apply your preferred stain or paint color. Use a stencil, vinyl transfer, or careful hand lettering to add the family name prominently across the center. Smaller text such as an establishment date or location can be added below. For a polished finish, seal the surface with a clear protective coat. Attach hanging hardware on the back and display the sign in a kitchen, dining room, or entryway. The personalized design creates a warm, welcoming focal point and reflects handmade craftsmanship.

Idea 6: Herb Planter Wall Board
How to Create
A herb planter wall board combines greenery with rustic decor. Small herb pots attached to a cutting board create a compact vertical garden that works well in kitchens and sunny indoor spaces. This project adds texture, color, and practical functionality to the room.
Choose a sturdy cutting board and finish it with stain or paint. Attach metal or wooden holders capable of supporting small herb pots. Secure the holders with screws for stability. Label each herb using painted text, wooden tags, or chalkboard labels. Mount the board in a location that receives adequate light and insert lightweight pots containing herbs such as basil, mint, or parsley. This project provides fresh herbs for cooking while serving as an attractive piece of living wall decor.

Idea 7: Minimalist Geometric Wall Art
How to Create
For a modern design approach, transform a cutting board into minimalist geometric wall art. Clean lines, simple shapes, and neutral colors create an aesthetic piece that complements contemporary interiors. This style works particularly well in kitchens, offices, and Scandinavian-inspired spaces.
Sand the board and paint it in a light neutral tone such as white, beige, or soft gray. Use painter’s tape to create geometric patterns including triangles, diagonal stripes, or color-blocked sections. Apply contrasting paint colors and remove the tape carefully for crisp edges. Keep the design simple to maintain the minimalist style. Seal the surface if desired and mount the board vertically or horizontally. This project demonstrates how a basic cutting board can become sophisticated wall art with only paint and careful planning.

Idea 8: Rustic Photo Display Board
How to Create
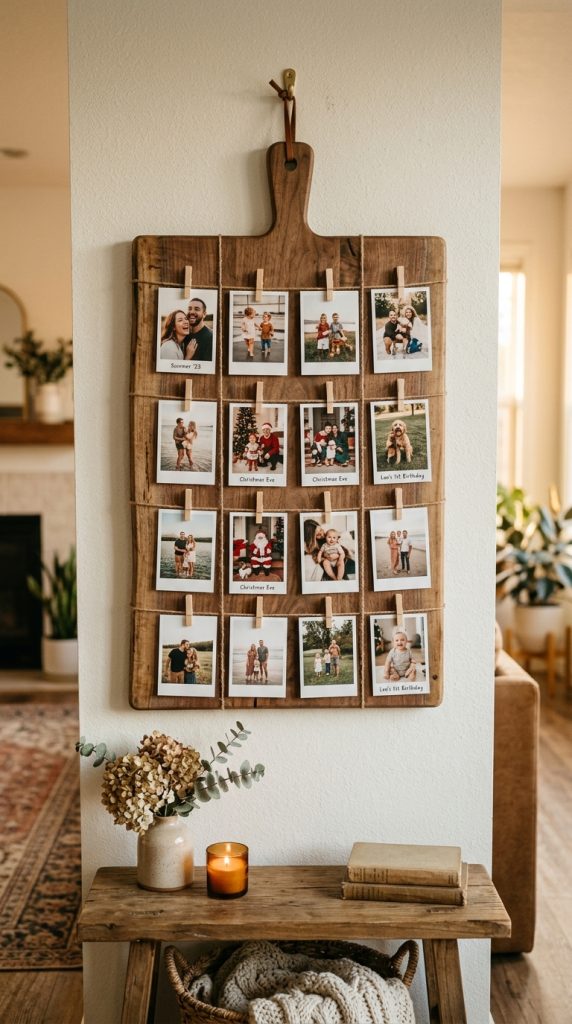
A rustic photo display board turns a cutting board into a personalized memory wall. Family photos, postcards, and inspirational prints can be clipped to the board for an ever-changing display. The wooden texture adds warmth and character to the presentation.
Finish the cutting board with stain or paint, then attach small clips, mini clothespins, or a wire grid across the surface. Arrange photos in a balanced layout and secure them to the clips. Add decorative accents such as twine, beads, or a simple quote painted near the top. Mount the board on the wall using sturdy hardware. Because the photos can be changed easily, this project remains fresh and adaptable while preserving a cozy, handmade aesthetic.
Idea 9: Holiday Countdown Board
How to Create
A holiday countdown board is a fun and interactive decoration that can be reused every year. The cutting board becomes a festive sign with a space to update the remaining days until a holiday, celebration, or special event. This project works well for Christmas, birthdays, vacations, and family gatherings.
Paint or stain the board and add a holiday-themed design. Create a chalkboard section or attach small number tiles that can be changed daily. Include decorative elements such as greenery, ribbon, or seasonal icons. Mount the board in a visible area where family members can update the countdown together. The combination of decoration and interaction makes this project especially engaging for households with children and adds a personal touch to seasonal decorating.

Idea 10: Coffee Station Wall Organizer
How to Create
A coffee station wall organizer helps keep mugs, spoons, and accessories neatly arranged while creating a charming focal point. The cutting board serves as a compact organizer that fits above a coffee bar, kitchen counter, or breakfast nook.
Start by finishing the cutting board with stain or paint. Attach several sturdy hooks for mugs and a small shelf or basket for coffee supplies. Add a painted coffee-themed phrase or simple graphic near the top. Secure all hardware carefully so the board can support the weight of hanging items. Mount it near the coffee-making area for easy access. This practical organization project combines storage with decorative appeal and works well in both rustic and modern kitchens.

Common Beginner Mistakes and How to Avoid Them
One common mistake is skipping surface preparation. Paint and adhesive adhere poorly to dusty, greasy, or rough wood, so always clean and sand the cutting board before decorating. Another frequent problem is overcrowding the design. Adding too many colors, words, or embellishments can make the project look cluttered rather than stylish. Planning the layout in advance helps maintain balance and visual clarity.
Improper hanging hardware is another issue. Decorative cutting boards may become heavy once hooks, shelves, or planters are attached. Use appropriate wall anchors and secure hardware to prevent accidents. Beginners also sometimes apply thick layers of paint, which can leave visible brush marks and uneven coverage. Multiple thin coats produce a cleaner finish. Finally, rushing the drying process often causes smudging and peeling. Allow stain, paint, and sealant to dry fully between steps for a more durable and professional result.
Practical Tips for Better Results
Choose cutting boards with interesting grain patterns, as natural wood texture adds character even when painted. Use painter’s tape for clean lines and geometric designs. If you are adding text, practice spacing on paper first to avoid uneven lettering. For farmhouse-style projects, lightly sand edges after painting to create subtle distressing.
When attaching hooks or shelves, pre-drill small pilot holes to reduce the risk of splitting the wood. Use lightweight decorative elements if the board will be wall mounted. Applying a clear protective sealant helps preserve painted designs and makes the surface easier to clean. If creating multiple boards as a set, repeat colors and design elements to create a coordinated collection. Taking time to measure, align, and test placement before permanent assembly greatly improves the final appearance.
Styling, Presentation, or Organization Ideas
Cutting board wall art looks most effective when grouped thoughtfully. Arrange boards of different sizes together for a layered gallery wall, or pair a larger statement piece with smaller coordinating designs. In kitchens, combine decorative boards with practical organizers such as mug hooks, herb planters, or recipe displays to create a cohesive functional area.
For a modern aesthetic, use neutral colors, simple typography, and minimal embellishments. For a rustic or farmhouse look, incorporate stained wood, greenery, twine, and distressed finishes. Seasonal boards can be rotated throughout the year while keeping a consistent base color palette. In small spaces, choose vertical designs that maximize wall space without crowding countertops. Proper spacing between pieces helps each board stand out and creates a more polished presentation.
Budget or Time Planning
Many cutting board crafts can be completed on a modest budget because the main material is inexpensive or already available at home. Basic supplies such as sandpaper, paint, and adhesive can be used across multiple projects, reducing overall cost. Reusing old cutting boards is one of the easiest ways to create affordable DIY decor.
Simple projects like welcome signs or geometric wall art can often be finished in a few hours, while organizers with hooks, shelves, or planters may require a full afternoon. To save time, prepare several boards at once by sanding and painting them together. Batch painting and staining allows drying time to overlap between projects. Planning materials in advance also prevents interruptions and helps the creative project move efficiently from preparation to final installation.
Creative Expansion and Advanced Inspiration
Once comfortable with basic cutting board crafts, you can explore more advanced techniques. Layer multiple boards together to create dimensional wall art. Combine wood burning, stenciling, and painted details for a mixed-media effect. Add LED fairy lights behind a board for subtle accent lighting in kitchens or dining areas.
Another creative expansion is building themed collections, such as a set of seasonal boards, coffee-themed decor, or coordinated farmhouse signs. You can also incorporate reclaimed wood, metal accents, or fabric elements to create more textured designs. For personalized gifts, add family recipes, meaningful dates, or custom illustrations. These advanced variations maintain the simplicity of cutting board crafting while offering greater artistic freedom and unique home decor inspiration.