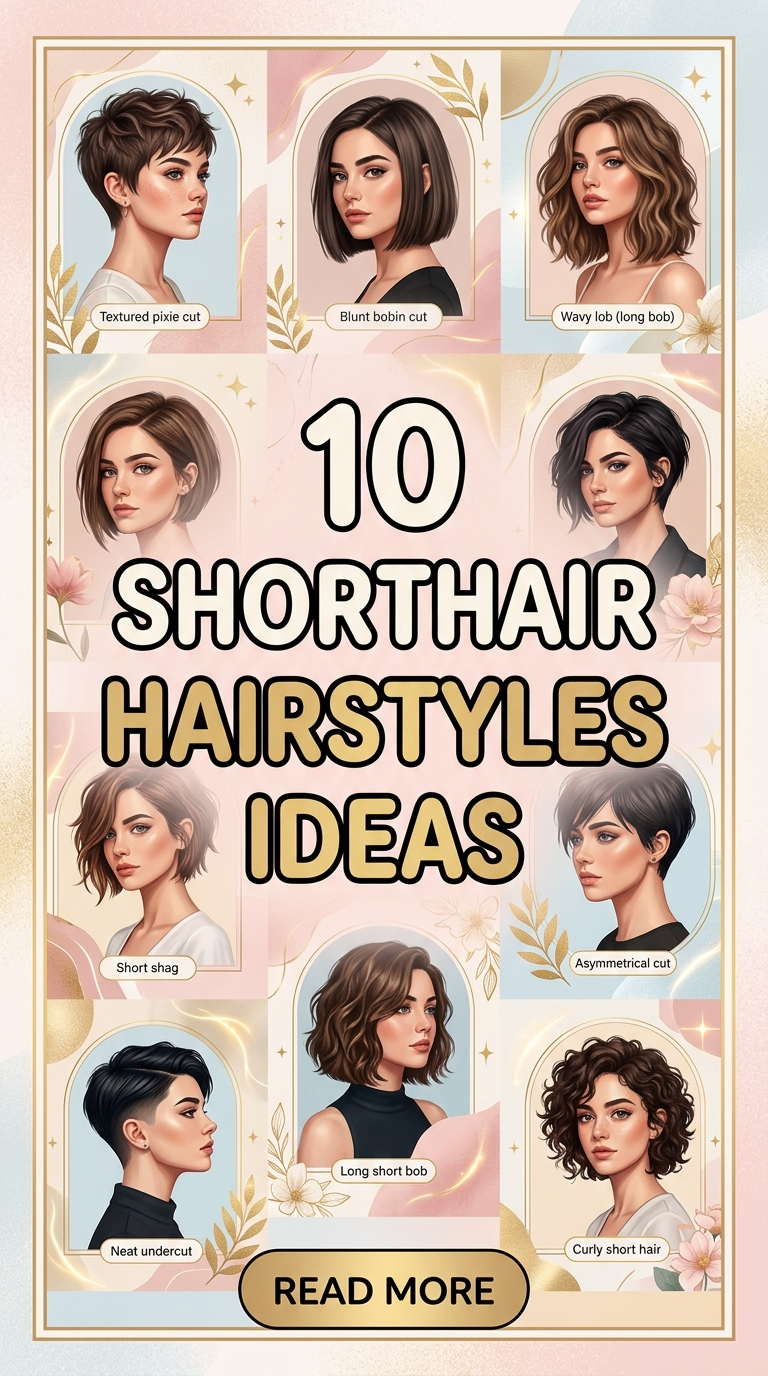
10 Wedding Hairstyles Bob Ideas
Bob hairstyles have become a practical and stylish choice for weddings, offering versatility without requiring long hair. This Pinterest-inspired guide focuses on transforming short hair into elegant, structured, and visually appealing looks suitable for formal events. Whether preparing for a bridal look, a bridesmaid role, or a guest appearance, bob hairstyles can be adapted to suit different themes, dress styles, and personal preferences. This article explains how to create ten distinct wedding-ready bob hairstyles using clear techniques and accessible materials. Readers will learn step-by-step methods, preparation strategies, and styling approaches that align with modern design and minimalist style trends. Each idea is designed to be beginner friendly while maintaining a polished aesthetic suitable for wedding settings. The goal is to provide practical inspiration that can be recreated at home or used as a reference when planning with a stylist. These creative ideas combine DIY techniques with structured execution, making them ideal for those seeking reliable and elegant home decor–inspired beauty solutions for special occasions.
Why This Idea Is Trending or Useful
Wedding hairstyles for bob cuts are gaining popularity due to their practicality and adaptability. Many individuals prefer shorter hairstyles for ease of maintenance, and Pinterest ideas now reflect this shift by showcasing structured yet simple looks. These styles offer a balance between sophistication and efficiency, making them suitable for modern weddings where time management and comfort are important. The appeal lies in their DIY potential, as most styles can be achieved with basic tools and minimal professional assistance. This makes them accessible for beginners who want to follow a tutorial or create a step by step styling routine at home. Additionally, bob hairstyles align with minimalist style trends, emphasizing clean lines and intentional design rather than excessive volume. They also support budget ideas by reducing the need for extensions or complex salon treatments. The growing interest in handmade and personalized looks has further contributed to their popularity, as these styles can be customized easily. Overall, they provide practical inspiration for anyone seeking an easy project with elegant results.
Materials and Preparation
Before creating any wedding hairstyle for a bob cut, proper preparation ensures consistent and polished results. Essential materials include a heat styling tool such as a curling iron or flat iron, a fine-tooth comb for sectioning, and a soft brush for smoothing. Hairpins, bobby pins, and small elastics are necessary for securing sections discreetly. Styling products such as lightweight mousse, texturizing spray, and finishing hairspray help maintain structure without stiffness. Optional decorative elements like hair clips or subtle accessories can enhance the overall aesthetic. Preparation begins with clean, dry hair, as this provides a stable base for styling. Applying a heat protectant is essential before using any hot tools. Planning the hairstyle in advance is also important, as it helps determine the required sections and overall structure. Practicing the style once before the event can improve efficiency and confidence. Proper lighting and a mirror setup are also useful for precision. This preparation stage supports smooth execution and ensures that each creative project remains organized and manageable.
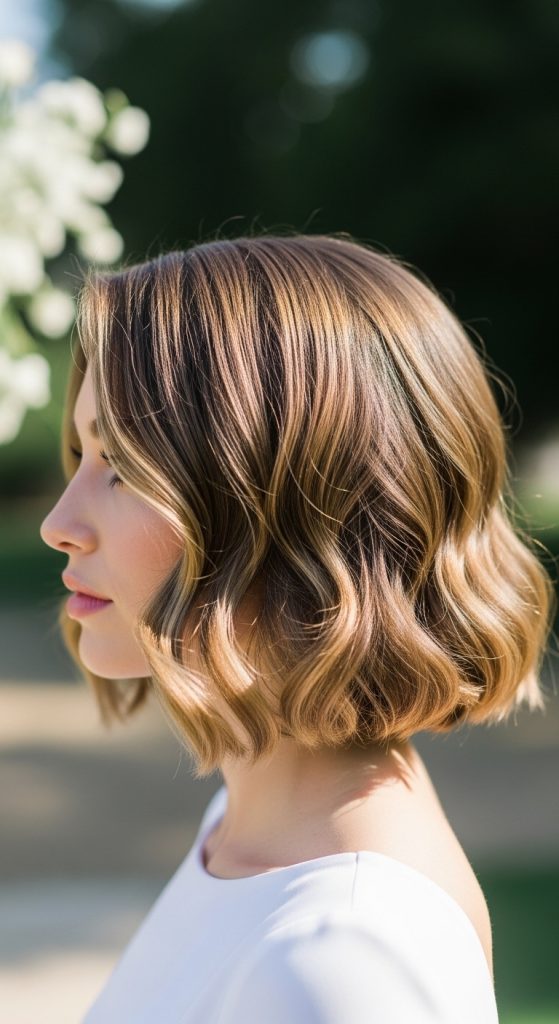
Idea 1: Soft Romantic Waves Bob
How to Create
Soft romantic waves provide a balanced combination of texture and structure, making them suitable for wedding settings that require elegance without complexity. This style focuses on creating gentle, flowing waves that enhance the natural shape of a bob haircut. The result is a refined look that complements both modern design and traditional wedding aesthetics. It works particularly well with layered bobs, as the waves add dimension and movement. This hairstyle aligns with Pinterest ideas that emphasize natural beauty and effortless styling. The aesthetic remains clean and controlled while still appearing soft and organic. This approach avoids heavy styling, making it beginner friendly and adaptable for different hair types. The waves can also be adjusted in size depending on the desired level of volume, allowing flexibility in design. This makes it a reliable option for those seeking a timeless yet contemporary wedding hairstyle.
To create this look, begin by dividing the hair into small sections using a comb. Apply a heat protectant and use a curling iron to curl each section away from the face. Hold the curl for a few seconds before releasing it gently. Once all sections are curled, allow the hair to cool completely before brushing through the curls with a soft brush. This step transforms tight curls into smooth waves. Apply a light texturizing spray to maintain separation and prevent flattening. Use bobby pins to secure any loose sections if needed, especially near the front. Finish with a light layer of hairspray to hold the style without making it rigid. This step by step process ensures a consistent and polished result suitable for wedding occasions.
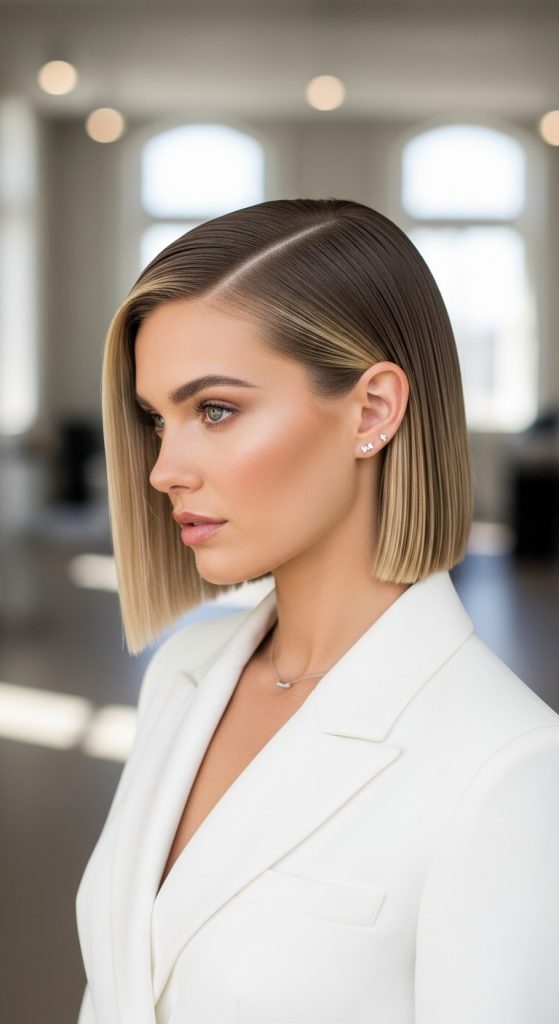
Idea 2: Sleek Side-Part Bob
Step-by-Step Guide
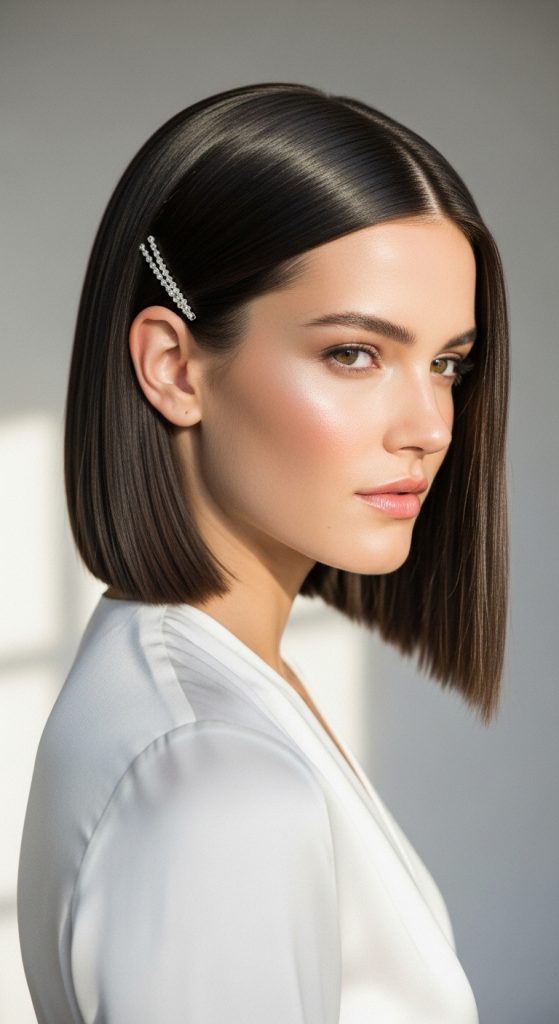
The sleek side-part bob is a structured hairstyle that emphasizes clean lines and symmetry. This style is ideal for minimalist style weddings, where simplicity and precision are key design elements. The deep side part creates a dramatic visual effect while maintaining a polished appearance. This hairstyle works well with straight hair and highlights the natural shine and smoothness of the strands. It aligns with trending ideas that focus on refined and controlled aesthetics. The look is particularly effective when paired with modern outfits, as it complements structured silhouettes. This hairstyle is also practical, as it requires minimal styling time while delivering a high-impact result. Its simplicity makes it an easy project for beginners who want a reliable and elegant option.
To achieve this style, start by creating a deep side part using a fine-tooth comb. Apply a smoothing serum to reduce frizz and enhance shine. Use a flat iron to straighten small sections of hair, ensuring a smooth and even finish. Once the hair is fully straightened, tuck one side behind the ear and secure it with a discreet bobby pin if needed. Apply a light hairspray to maintain the shape and prevent flyaways. For additional hold, use a small amount of styling gel along the part line. This execution process ensures a clean and professional appearance suitable for wedding events.
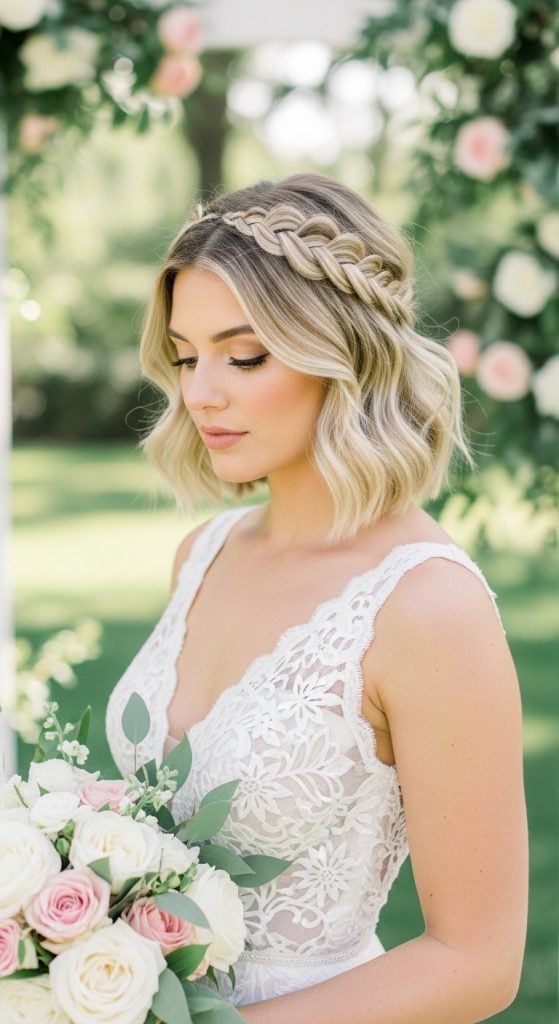
Idea 3: Braided Crown Bob
How to Make
The braided crown bob combines structure with decorative detail, creating a balanced and visually appealing hairstyle. This look involves incorporating small braids along the top section of the hair to form a crown-like effect. It is particularly suitable for outdoor weddings or rustic themes, as it reflects a handmade and natural aesthetic. The style adds texture and interest without overwhelming the overall look. It aligns with creative ideas that emphasize detail and craftsmanship. This hairstyle is adaptable and can be adjusted to suit different bob lengths. It also provides a secure structure, making it practical for long events. The braided elements enhance the visual complexity while maintaining a cohesive design.
To create this style, begin by sectioning the front portion of the hair. Divide this section into two smaller parts and create simple three-strand braids on each side. Pull the braids across the top of the head and secure them with bobby pins, forming a crown shape. Leave the remaining hair loose or lightly waved for added texture. Apply a texturizing spray to enhance volume and maintain the structure of the braids. Finish with a light hairspray to secure the style. This step by step tutorial ensures a stable and decorative hairstyle suitable for wedding occasions.
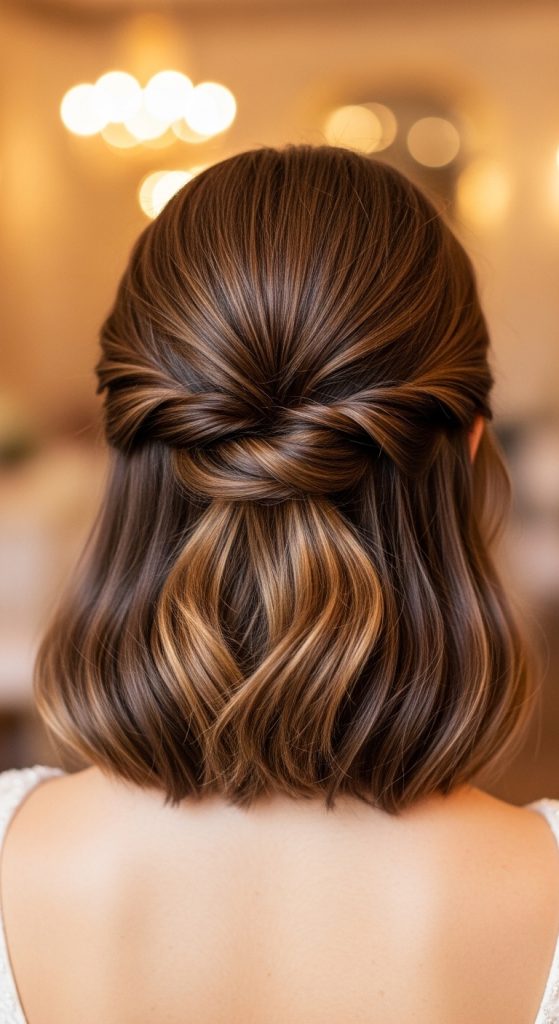
Idea 4: Half-Up Twisted Bob
Execution Process
The half-up twisted bob is a practical and elegant hairstyle that combines loose hair with structured elements. This style involves twisting sections of hair from both sides and securing them at the back, creating a balanced and symmetrical design. It is suitable for weddings that require a soft and romantic aesthetic. The style allows for natural movement while maintaining a controlled appearance. It aligns with Pinterest inspiration that focuses on simplicity and functionality. The twisted sections add visual interest without requiring complex techniques. This makes it a beginner friendly option that can be completed efficiently.
To execute this style, start by separating the top section of the hair from the bottom. Take a small section from one side, twist it gently, and pull it toward the back of the head. Secure it with a bobby pin. Repeat the same process on the other side, overlapping the twists slightly. Adjust the placement to ensure symmetry. Leave the remaining hair loose or style it with soft waves for added texture. Apply a light hairspray to hold the twists in place. This method provides a stable and elegant hairstyle suitable for wedding settings.
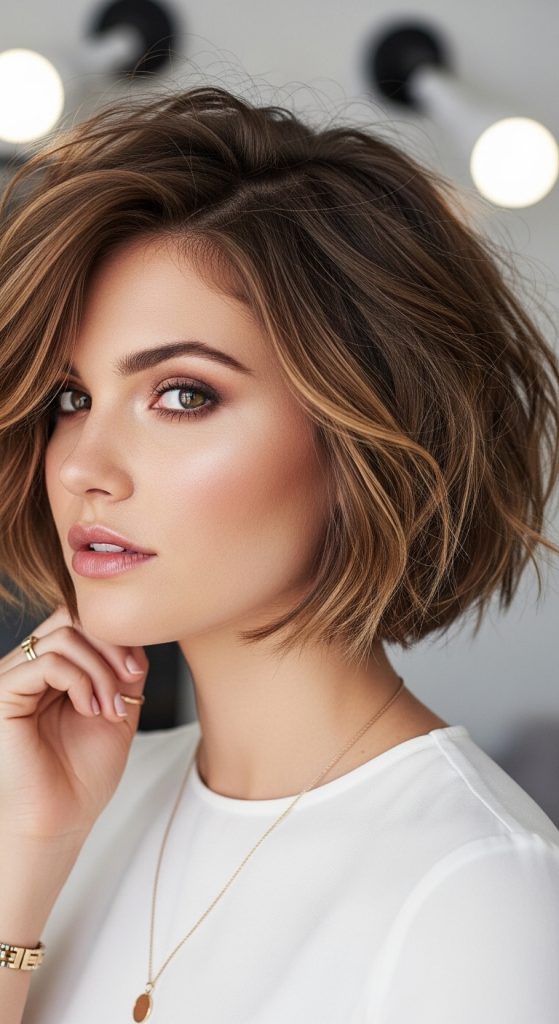
Idea 5: Textured Messy Bob
How to Create
The textured messy bob focuses on creating controlled volume and a relaxed aesthetic. This style is ideal for weddings that embrace a casual or modern theme. It combines intentional texture with a slightly undone appearance, resulting in a balanced and stylish look. The design emphasizes movement and dimension, making it suitable for various hair types. It aligns with trending ideas that prioritize natural texture and individuality. The style remains practical and easy to maintain throughout the event.
To create this look, apply a volumizing mousse to damp hair and blow dry using a diffuser. Once dry, use a curling iron to add random curls throughout the hair. Avoid uniformity to maintain a natural effect. Use your fingers to separate the curls and create volume. Apply a texturizing spray to enhance the messy appearance while keeping the structure intact. Finish with a light hairspray. This step by step process ensures a consistent and manageable result.
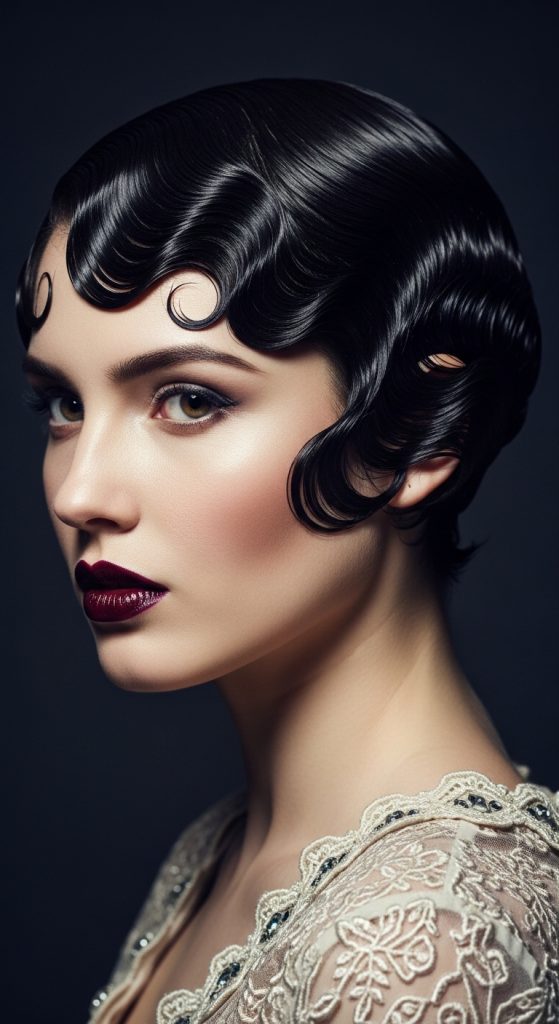
Idea 6: Vintage Finger Waves Bob
Step-by-Step Guide
Vintage finger waves provide a classic and structured hairstyle suitable for formal weddings. This style emphasizes defined waves that follow a uniform pattern, creating a polished and elegant look. It aligns with traditional aesthetics while remaining relevant in modern design contexts. The style requires precision and attention to detail, making it ideal for those seeking a refined appearance.
To achieve this look, apply a styling gel to damp hair and use a comb to create wave patterns. Secure each wave with clips and allow the hair to set. Once dry, remove the clips and gently smooth the waves with a brush. Apply a finishing spray to maintain the shape. This method ensures a structured and long-lasting hairstyle.
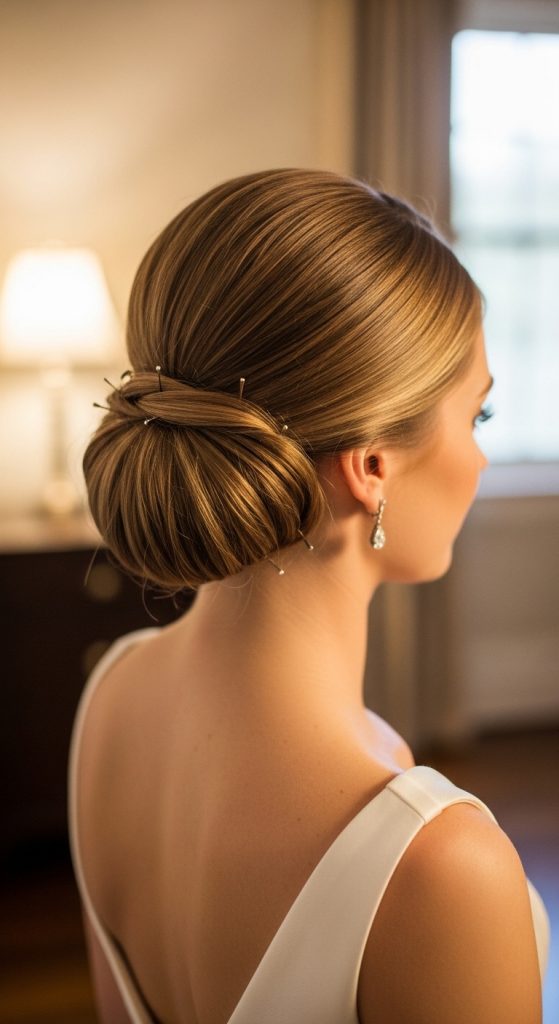
Idea 7: Low Bun Illusion Bob
How to Make
The low bun illusion bob creates the appearance of a bun using shorter hair. This style is ideal for those who want an updo without extensions. It involves tucking and pinning sections to mimic a bun shape. The result is a sophisticated and elegant hairstyle suitable for weddings.
To create this look, gather the hair at the nape of the neck and divide it into small sections. Twist each section and pin it in place to form a rounded shape. Adjust the placement to create the illusion of a bun. Apply a hairspray to secure the style. This execution process ensures a stable and polished result.
Idea 8: Side-Swept Curled Bob
Execution Process
The side-swept curled bob emphasizes volume and direction, creating a dynamic and elegant hairstyle. This style works well for formal weddings and adds a dramatic element to the overall look. It aligns with modern Pinterest inspiration that highlights asymmetry and movement.
To achieve this style, curl the hair using a curling iron and brush through the curls to soften them. Sweep the hair to one side and secure it with bobby pins. Apply a finishing spray to maintain the shape. This step by step approach ensures a balanced and polished hairstyle.

Idea 9: Minimalist Straight Bob with Accessories
How to Create
This style focuses on simplicity and clean lines, enhanced by subtle accessories. It is ideal for minimalist weddings and emphasizes precision and clarity. The accessories add a decorative element without overwhelming the design.
To create this look, straighten the hair using a flat iron and apply a smoothing serum. Add a small accessory on one side and secure it with pins. Finish with a light hairspray. This method ensures a clean and elegant appearance.
Idea 10: Floral Pinned Bob
Step-by-Step Guide
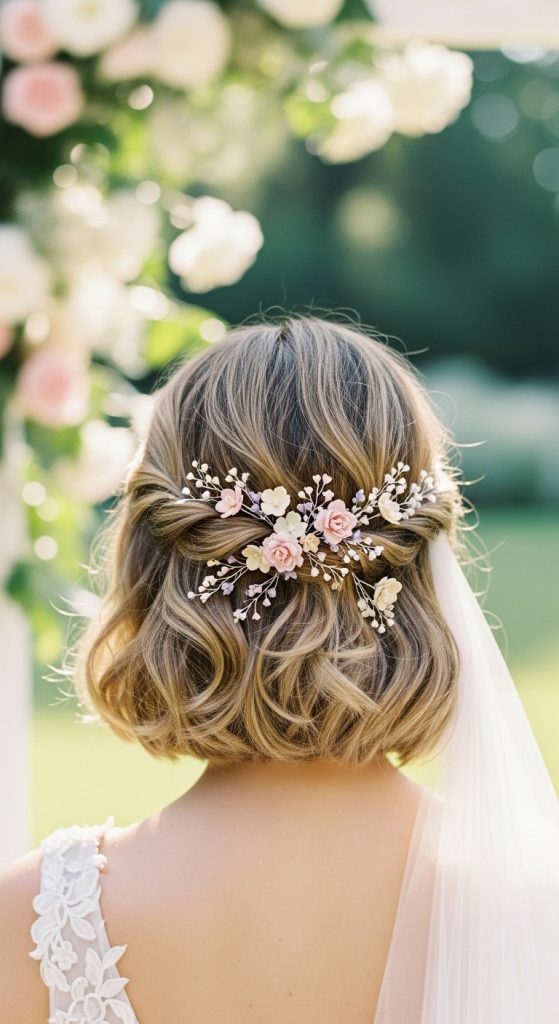
The floral pinned bob incorporates decorative elements to create a soft and romantic hairstyle. This style is ideal for outdoor or garden weddings and aligns with natural design themes. The flowers add color and texture to the overall look.
To create this style, curl the hair lightly and pin small sections at the back. Insert floral elements into the pinned sections and adjust their placement for balance. Apply a light hairspray to secure the style. This execution process ensures a cohesive and decorative result.
Common Beginner Mistakes and How to Avoid Them
One common mistake when creating wedding hairstyles for bob cuts is using excessive styling products, which can weigh down the hair and reduce movement. It is important to apply products in small amounts and build gradually. Another issue is improper sectioning, which leads to uneven styling and inconsistent results. Using a comb to create clean sections ensures better control. Skipping heat protection is also a frequent error that can damage hair and affect the final appearance. Additionally, failing to secure styles properly with pins can result in loose sections במהלך the event. Practicing the hairstyle in advance helps identify potential challenges and improves execution. Maintaining a balanced approach to styling ensures a polished and reliable outcome.
Practical Tips for Better Results
Achieving consistent results requires attention to detail and proper technique. Working with small sections improves control and precision. Allowing curls to cool before styling helps maintain their shape. Using lightweight products prevents stiffness and preserves natural movement. Adjusting the hairstyle based on hair texture ensures better compatibility. Regular practice enhances confidence and efficiency. Keeping tools organized and accessible supports a smooth workflow. These tips help improve the overall quality of the hairstyle and ensure a professional finish.
Styling, Presentation, or Organization Ideas
Presentation plays a significant role in the overall impact of a wedding hairstyle. Coordinating the hairstyle with the outfit ensures a cohesive appearance. Choosing accessories that complement the design enhances the aesthetic without overwhelming it. Maintaining clean lines and balanced proportions improves visual harmony. Organizing tools and materials in advance reduces stress במהלך preparation. These considerations contribute to a polished and well-structured final look.
Budget or Time Planning
Planning is essential for completing a hairstyle efficiently. Selecting styles that match available time and skill level ensures realistic execution. Using existing tools and materials helps manage costs. Practicing the style beforehand reduces preparation time on the event day. Allocating sufficient time for each step prevents rushed results. These strategies support effective budget and time management while maintaining quality.
Creative Expansion and Advanced Inspiration
Once basic techniques are mastered, hairstyles can be expanded with additional elements such as layered textures, combined braiding patterns, or subtle color accents. Experimenting with different parting styles or wave sizes can create new variations. Incorporating decorative pins or structured twists adds complexity. Exploring advanced techniques allows for more personalized and creative results. These approaches provide ongoing inspiration for future styling projects.